Page Contents
OVERVIEW
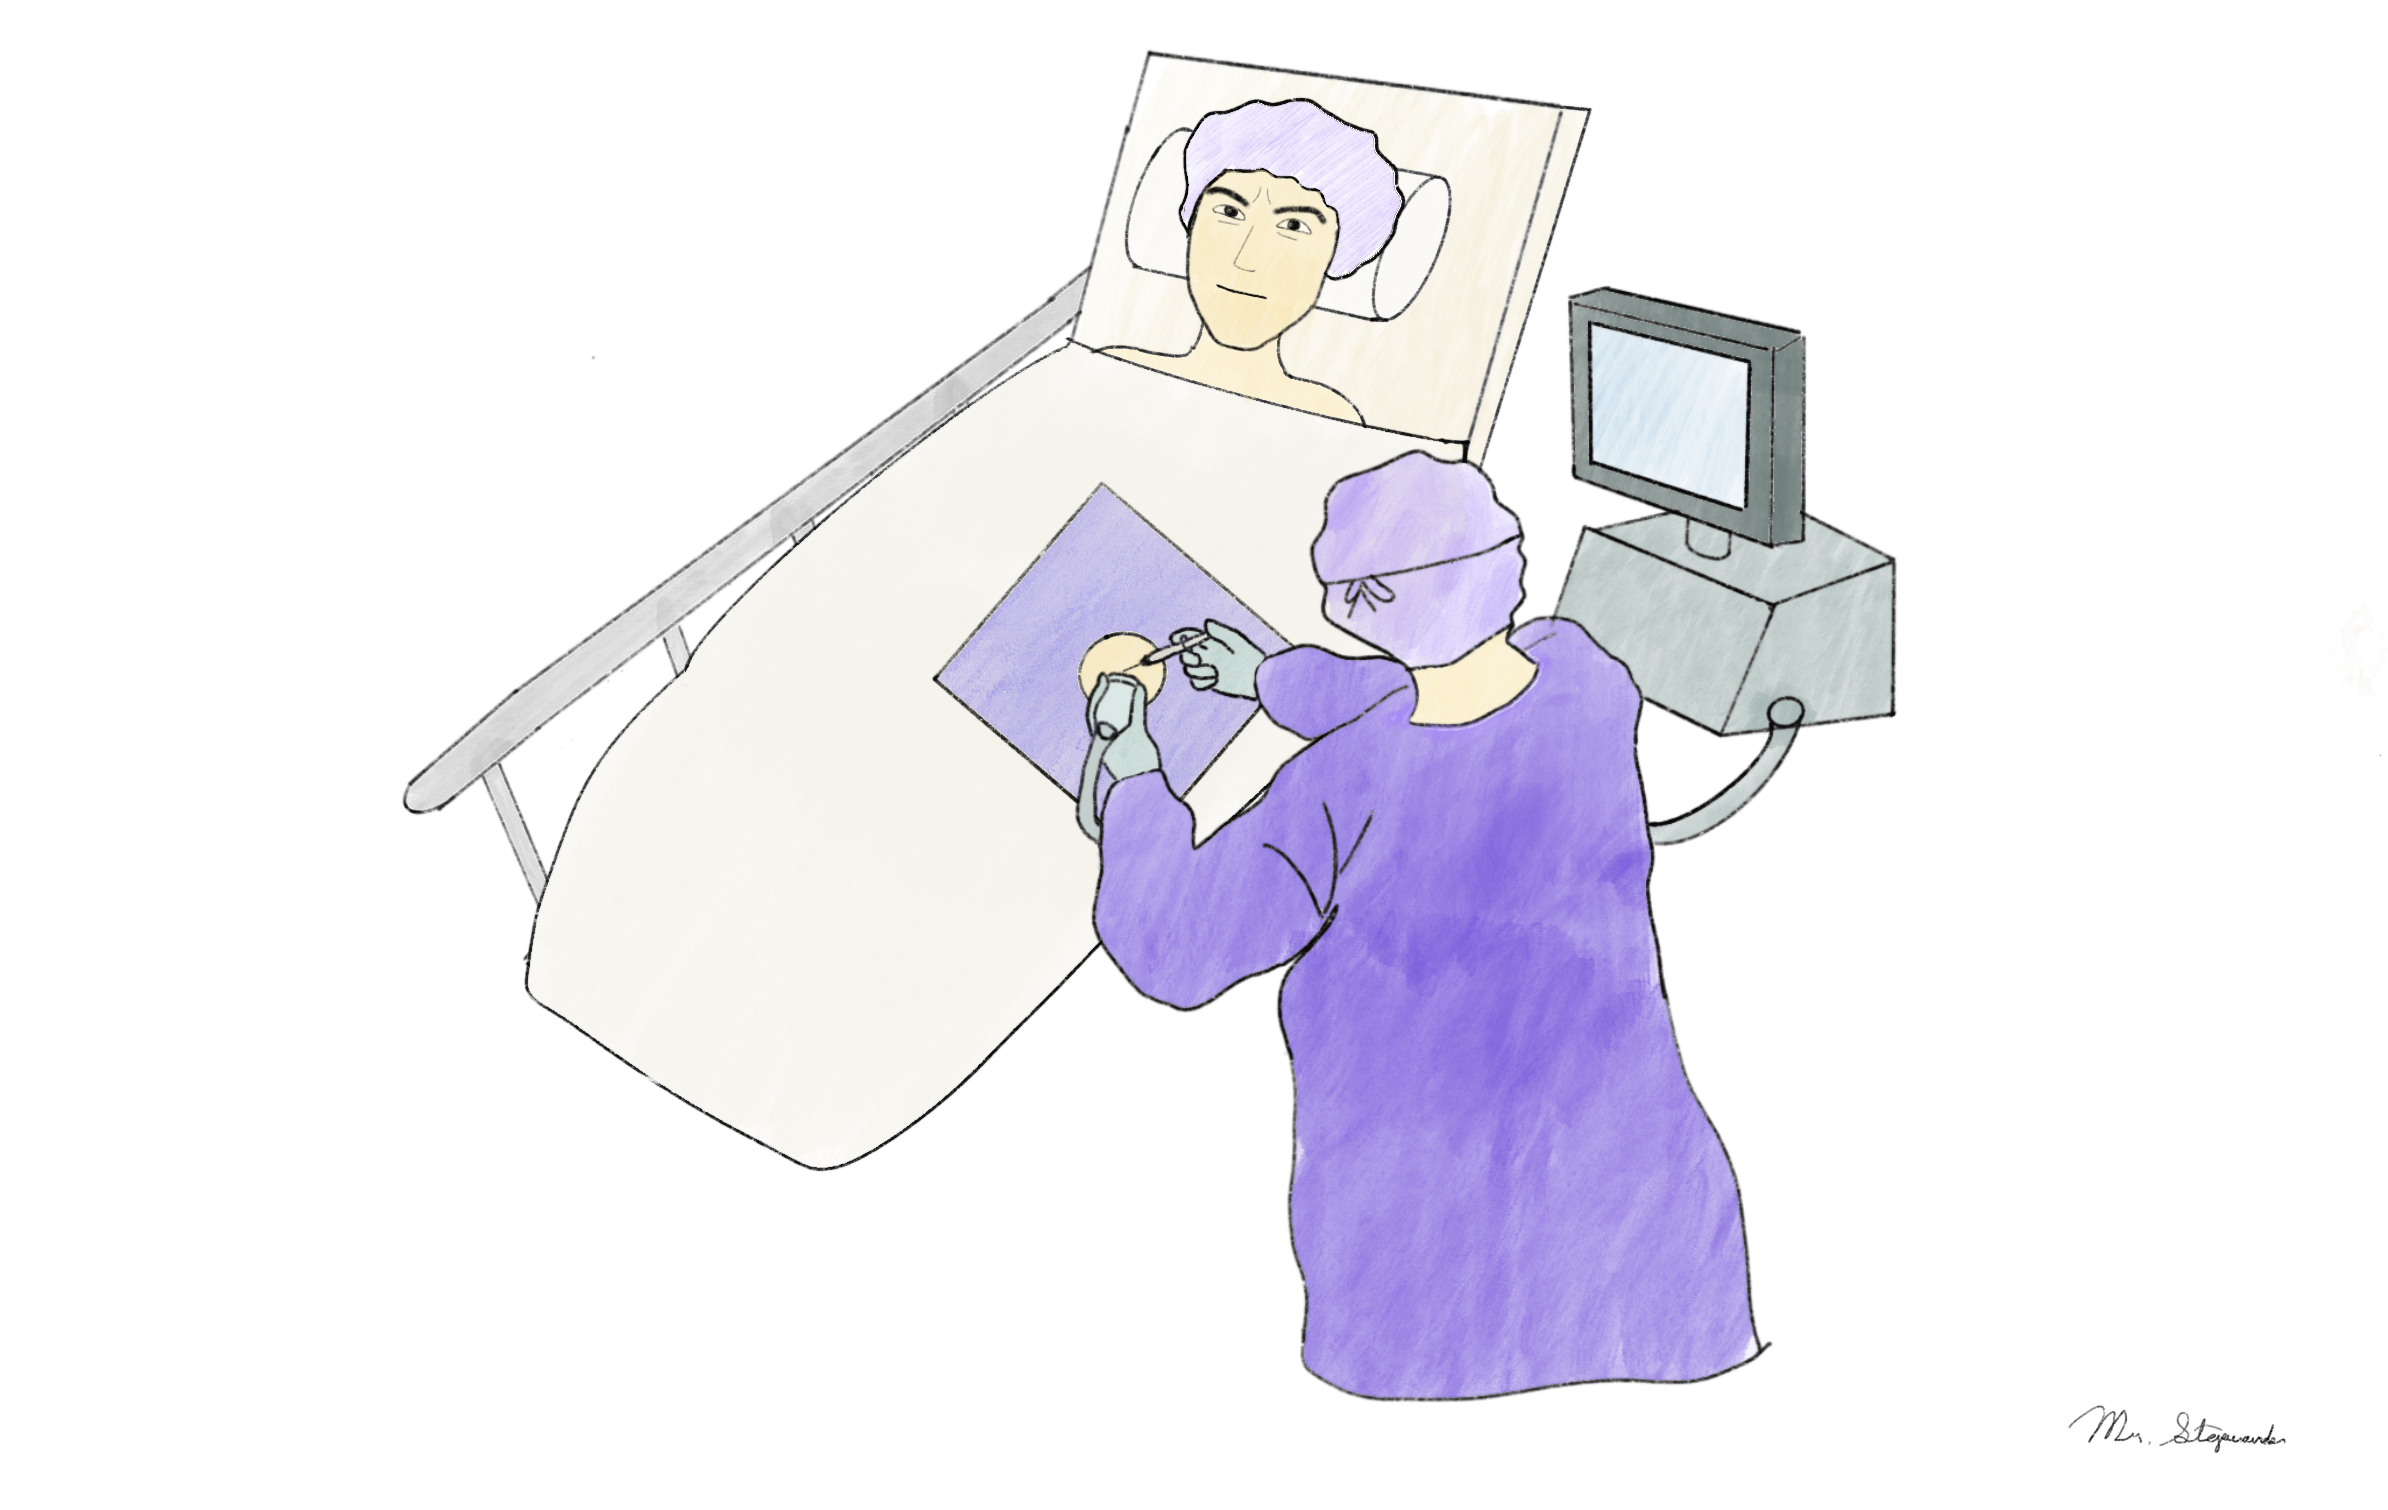
This page is dedicated to organizing information relevant a paracentesis. This is a procedure that is commonly conducted in the field of interventional radiology however it is also conducted by diagnostic radiologists, and even those outside of radiology (such as those in internal medicine).

WHAT IS A PARACENTESIS?
A paracentesis is a procedure where fluid that is present in the peritoneal space is either sampled or drained. Generally speaking there are two major types of this procedure (that are sometimes not mutually exclusive):
- Diagnostic paracentesis: used to help identify features of peritoneal fluid (ascites) that can help diagnose patients with a specific disease process or condition
- Therapeutic paracentesis: patients with a large volume of ascites can feel symptomatic relief when this fluid is drained.
INITIAL PROCEDURAL EVALUATION
- Indications For A Paracentesis: a paracentesis can have a variety of different indications (both for diagnostic and therapeutic benefit as discussed above)
- Contraindications For A Paracentesis: while it may seem like a very simple procedure, there are some instances in which it is actively contraindicated and should not be performed.
- Fielding The Consult For A Paracentesis: other teams that order a paracentesis may not speak directly with the interventional radiology team for every paracentesis request, however when you have the opportunity to speak to the other provider directly it can be a good opportunity to gather more information efficiently.
- Completing a chart review (writing pre-procedure note/H & P): prior to beginning the procedure it is important to review some key components of the patient’s chart. This is also an opportunity to begin writing a pre-procedure note/history and physical note.
- Reviewing prior imaging: it can be helpful to understand what to look for on diagnostic imaging BEFORE performing the paracentesis.
PRE-PROCEDURAL PREPERATION
- Determining what type of sedation/anesthesia the patient will require: generally for a paracentesis the patient will only require local anesthesia like lidocaine however there may be exceptions.
- Evaluating bleeding risk using laboratory values: looking at key lab values can help in part evaluate for the patient’s bleeding risk.
- Anticoagulation/antithrombotic medication peri-procedural management: while it is not high risk for bleeding, it is useful to be aware of some of the observed practices that are employed to manage anticoagulation prior to performing a paracentesis.
- Gather the required procedural equipment for the paracentesis: before starting the procedure it is important to be aware of what equipment will be required to perform the paracentesis.
- Consenting the patient for the procedure: even though a paracentesis is a relatively simple procedure it is important to realize that it still requires informed consent.
PROCEDURAL CONSIDERATIONS
Considerations Before The Start Of The Case:
- Scanning the patient for ascites: the ultrasound machine should be used to see if the patient has ascites, how much they have, and the best area where the ascites can be drained. This page helps to discuss this topic in greater detail. Make sure to mark the site where you will puncture the skin to drain the ascites.
- Preparing collection bottles for large volume paracentesis (if performing): setting up these collection bottles BEFORE scrubbing into the case is very advantageous (refer to the video at the bottom of the linked page).
- Scrubbing into the case: often times only sterile gloves will be used for a paracentesis (without a sterile gown) however both can be used if desired.
- Preparing the procedural site (sterilize and drape the site): once the desired spot for the paracentesis has been selected, the site should be cleaned and draped for the procedure.
- Performing the time out right before the procedure:
Steps Of The Paracentesis Procedure:
Below are the general steps of the paracentesis listed in order.
- Administer lidocaine superficially (skin wheal): numb the skin at the marked site to begin the procedure.
- Make a dermatotomy (optional): some providers prefer to make a skin incisions at the marked site that has been numbed, others do not.
- Numb the deeper tissues/aspirate/drain ascites: this step has a few different variations however its goal is to numb the deeper tissues up until the collection of ascites and then begin draining it. The linked page shows some of the variations of the procedure.
- Connect to collection bottles (if performing large volume paracentesis): refer to the video at the end of this page to see how to connect to these collection bottles after acquiring the diagnostic sample(s) required.
- Apply dressing at the end of the case: this can be something as simple as a bandaid however sometimes gauze and tegaderm can be used as well.
Other Procedural Considerations
- Common complications of a paracentesis
POST-PROCEDURAL CONSIDERATIONS
- What type of analysis to send the ascites fluid for?
- When to give albumin and how much?
- How to sign out the patient post procedure to the primary team
- Dictating the procedure/writing the radiology report: after completing a paracentesis the case will have to be documented in a radiology report. There are some pieces of information that are useful to document.
Diagnostic Utility Of Ascites Fluid:
- Establish etiology with serum-ascites albumin gradient (SAAG): this gradient is used to broadly characterize the type of ascites that is present.
- Diagnosing spontaneous bacterial peritonitis (SBP): evaluating for SBP is a very common indication for performing a diagnostic paracentesis. It is important to understand how this diagnosis is made.
REFERENCES
The following sources were utilized when creating the content on this page (as well as the linked pages above):
New England Journal Of Medicine, Videos In Clinical Medicine: Paracentesis