Page Contents
OVERVIEW
This page is dedicated to describing how to conduct an ultrasound guided non-focal renal biopsy. This is a procedure that is commonly conducted in the field of interventional radiology in order to collect tissue from the kidneys (which can be used diagnostically).
IMPORTANT CONSIDERATIONS BEFORE BEGINNING THE PROCEDURE
As is the case with many procedures, there can be contraindications that should be evaluated for before beginning. While the evidence base in some cases in anecdotal/limited, there are a few clinical contexts under which a renal biopsy should NOT be performed due to the increased risk of complications (read more on this topic here):
- High blood pressure (systolic blood pressure <160 mm Hg)
- Hydronephrosis (signs present on imaging)
- Elevated INR (>1.5)
- Low platelets (< 50 x 10³/µl of blood)
- Low hemoglobin (anemia): a Hg of below 9.0 mg/dLis a risk factor for serious complications after a kidney biopsy.
- Recent usage of “blood thinning” medications: Special attention should be paid to the usage of medications such as warfarin, aspirin or NSAIDs (usage of any of these medications within 7 days of the biopsy is associated with a serious bleed due to the procedure).
STEP 1: POSITIONING THE PATIENT
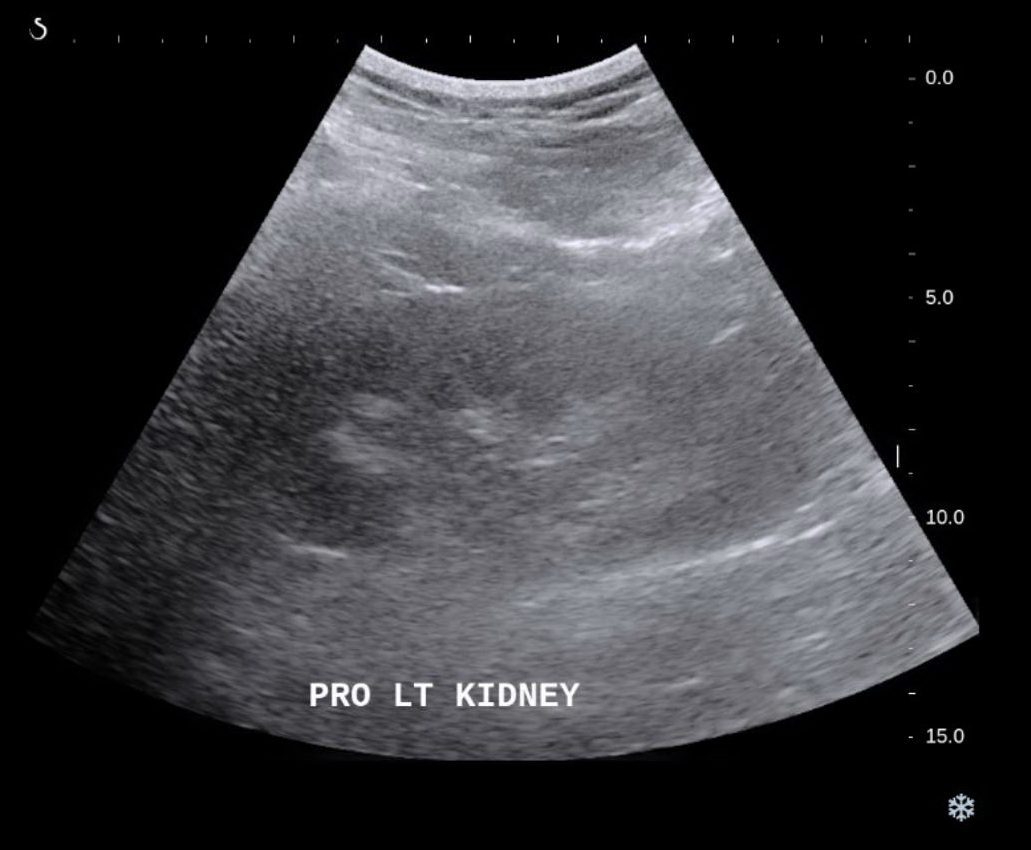
Provided that there are no contradictions, after informed consent is obtained from the patient, they can be positioned in the supine position and the kidney(s) can be scanned with an ultrasound to assess for the best access for the biopsy (typically from the posterior flank). Once a site is picked, the access point can be prepped in a sterile fashion (cleaned and draped in a sterile fashion) and intravenous conscious sedation can be given.
STEP 2: PERFORMING THE BIOPSY
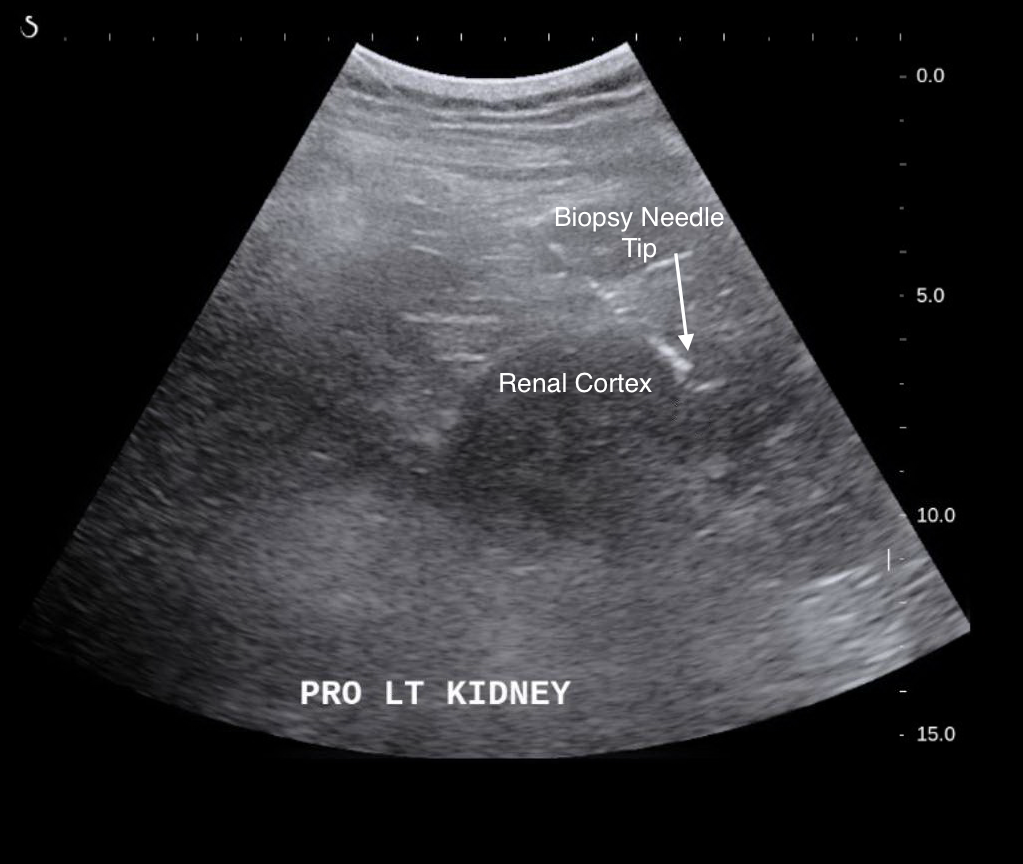
Once the access point is picked, and the patient is prepped 1% lidocaine can be used to numb the skin and subcutaneous tissues (in the path that will be used to access the kidneys). After waiting a minute for the local anesthesia to take effect, the biopsy needle can be introduced (under the guidance of ultrasound) through the retroperitoneal space into the renal cortex. Core biopsy samples can be obtained and sent for analysis.
STEP 3: EVALUATING FOR POST-PROCEDURAL BLEEDING
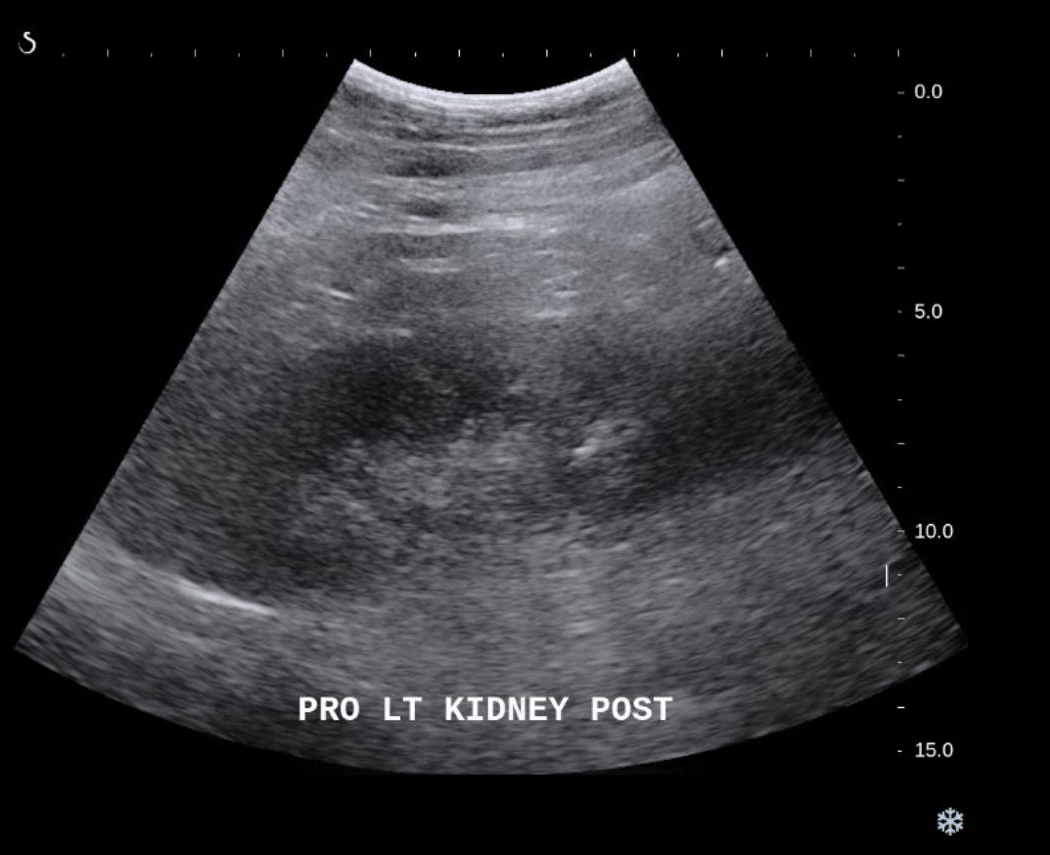
Due to the risk of bleeding during a renal biopsy, after the procedure the kidney/its surrounding should be evaluated with the ultrasound probe again to assess for any signs of bleeding. Provided that no signs of bleeding are present, the patient’s access point can be dressed with a bandage and they can be sent on their way.
Page Updated: 06.28.2017