Page Contents
OVERVIEW
This page is aimed to provide a methodical approach (beginning with the history/physical exam) on how to properly characterize percutaneous feeding tubes that are detected during a clinical workup.
It is important to remember the different types of percutaneous feeding tubes that exist:
- Gastrostomy Tubes (G-Tubes): Tube enters and delivers feeds directly into the stomach.
- Jejunostomy Tubes (J-Tubes): Tube enters and delivers feeds directly into the jejunum.
- Gastrostomy-Jejunostomy (G-J Tubes): Tube enters through the stomach, and its most distal tip will rest in the jejunum. Gastric contents can be aspirated, and feeds can be delivered directly into the jejunum.
- Transgastric J Tubes: Tube enters through the stomach and its most distal tip will rest in the jejunum. Often confused with G-J tubes however it does not have an opening in the stomach (so gastric contents can NOT be aspirated). Feeds are delivered directly into the jejunum.
For further reference read this page dedicated to the anatomy of percutaneous feeding tubes.
INITIAL MEANS OF DETECTION
It is important to appreciate how medical providers will first begin to detect the presence of a percutaneous feeding tube. There are a few major “starting” points by which we can begin our journey to characterizing a percutaneous feeding tube.
1.) The Patient History & Physical:
Often times the first time a provider learns about a feeding tube can be from the medical chart or the patient’s history. This will often lead to a physical exam where the tube can be evaluated more close. Sometimes providers may not have a history and might just discover the presence of the tube as a incidental finding.
2.) Imaging:
In certain circumstances (when providers do not have the history of physical available to them), the presence of the feeding tube might first be detected on an imaging study.
CLINICAL WORKUP OVERVIEW
The clinical workup organized on this page is organized in a general fashion (starting with the history/physical and then graduates to more and more sophisticated imaging modalities) however is flexible in the sense that it can be used in any order that is relevant to those using this guide (although starting with a good history/physical is advised if possible). Generally speaking, a suspected percutaneous feeding tube can be characterized in the order below:
- Physical exam (informed by patient history)
- X-ray imaging (often abdominal X-rays)
- X-ray tube check (pre and post contrast injection)
- Fluoroscopic tube check (with contrast injection)
- CT scan (often abdominal/pelvic CT scans)
PHYSICAL EXAM
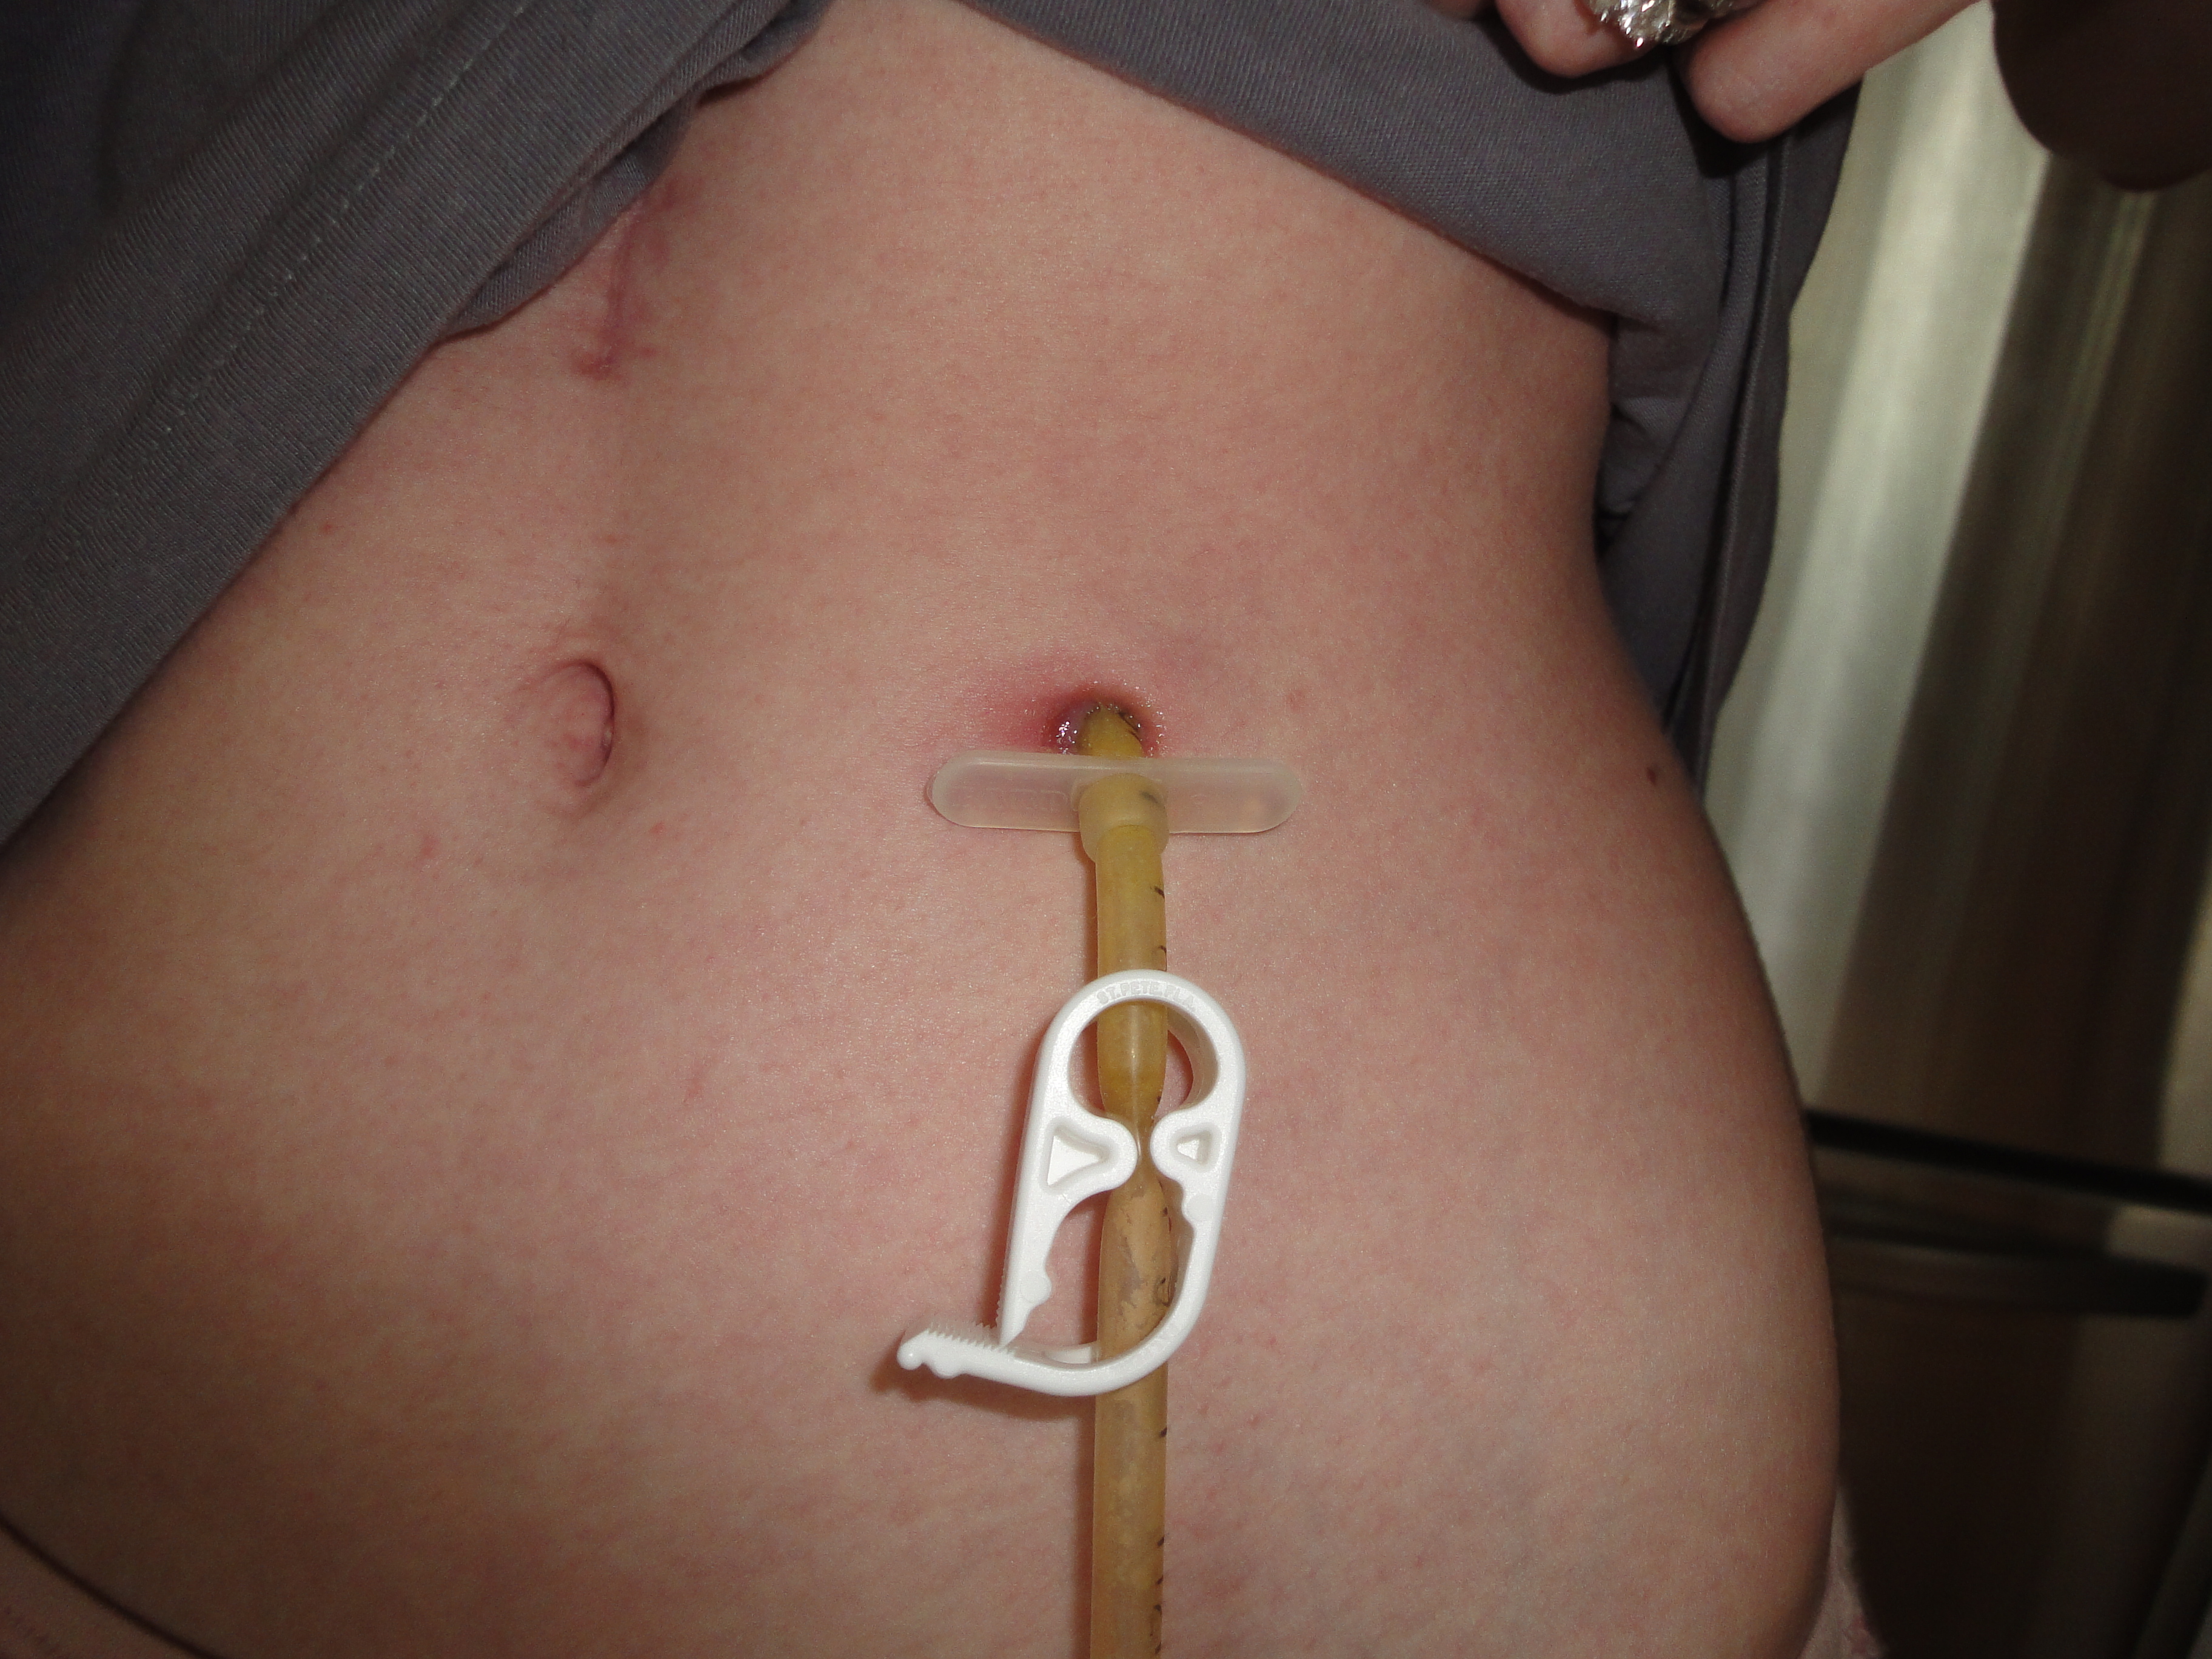
Physically looking at the external component of the feeding tube is a very important step in its characterization (that can often be overlooked). There are often helpful clues that exist on the external component of feeding tubes (such as important labels, size information, brand name, tube type). The external hub of the feeding tube is what will be externally visible during the physical exam. Often times this will be the first clue in identifying what type of tube a patient has. There are a few features of the external hub that are important to pay particular attention to:
- Number of ports: counting the number of ports a feeding tube’s hub has can reveal more about what exactly is present on the inside of the patient. Each lumen of a feeding tube will have its own port, and a balloon retention device (more on this below) will also have its own port as well. Keeping this in mind, when a tube hub is seen that only has 1 port (like the tube above) one already knows that there is only one lumen in the tube, and that there is no balloon retention device present.
- Profile of the hub: the degree of how flat a tube’s hub sits against the outer abdomen can also be important to appreciate. Some brands of tubes have special “low-profile” versions of their tubes.
The gallery below shows examples of the external hub from different percutaneous feeding tubes (that would be seen on the physical exam). Click on the thumbnails below to open up the gallery:


X-RAY IMAGING (ABDOMINAL X-RAY)
A plain radiograph (often an abdominal X-ray) often times might be the simplest, cheapest, and easiest imaging study to characterize a percutaneous feeding tube. This study can be used to evaluate a few things:
- General positioning of the tube: while the exact anatomy can be difficult to appreciate, grossly the positinionig of the tube (and its subcomponents) can be assessed on a plain radiograph.
- Presence of retention devices: locking loops and inflated contrast filled balloons used to secure these percutaneous tubes in place can be seen/appreciated on X-ray studies.
The gallery below shows examples of how percutaneous feeding tubes will appear on abdominal X-ray studies. Click on the thumbnails below to open up the gallery:


X-RAY TUBE CHECK (PRE AND POST CONTRAST INJECTION)
While a plain radiograph can be a good start, injecting contrast into the port(s) of the feeding tube in question and THEN taking another X-ray can give even more information to providers. This study can be referred to as a “tube check” and can be used to expand upon what is evaluated with an X-ray.
The positioning of the tube’s components can be better evaluated with this study because the structures that house the tube can be opacified with contrast (helping confirm its proper location)
The gallery below shows examples of how percutaneous feeding tubes will appear on these tube check studies. Click on the thumbnails below to open up the gallery:


FLUOROSCOPIC TUBE CHECK (WITH CONTRAST INJECTION)
Using fluoroscopy to evaluate a feeding tube can also be done. It is similar to the X-ray tube check discussed above, however can be done in real time.
Again, the opacification of internal structures with the usage of contrast can be used to more accurately assess the proper placement and function of the feeding tube in question.
The gallery below shows examples of how percutaneous feeding tubes will appear on fluoroscopy. Click on the thumbnails below to open up the gallery:


CT-IMAGING (ABDOMINAL/PELVIC X-RAY)
CT scans (commonly of the abdomen and pelvis) can be very useful in evaluating the proper placement/positioning of percutaneous feeding tubes.
Because cross sectional imaging can not capture the entire feeding tube in one image slice, it is important to evaluate the appearance of the tube in question on the scout images acquired at the start of the CT study. General positioning and the anatomy of the feeding tube can be appreciated from these scout images.
The gallery below shows examples of how percutaneous feeding tubes appear on CT scout imnages. Click on the thumbnails below to open up the gallery:


Once the scout images have been evaluated the, different views of the CT scan can be cross referenced to properly characterize the percutaneous feeding tube in question. A few things to evaluate are:
- Insertion site of the tube: it is important to make sure the feeding tube is entering the patient in/through the proper structure(s)
- Presence and location of retention device: often times where exactly the retention balloon/locking coil can be overlooked. Sometimes these retention devices can migrate and give the patient complications.
- Path of entire feeding tube: it is important to track the entire path of the feeding tube to make sure the entire catheter is in proper position.
- Location of feeding tube tip: depending upon the type of tube, the proper location of the tip may vary. It is important to always identify the tip of the feeding tube and ensure it is in the proper anatomical location.
The gallery below shows examples of how percutaneous feeding tubes appear on CT scans. Click on the thumbnails below to open up the gallery:


Page Updated: 09/13/2017